
Hey guys, its Alex with a goat obsessed post!

A goat obsessed post? I am not joking, who can blame me really, goats are so cool, even celebrities have collaborated with them likes of Taylor Swift and Miley Cyrus, Who wouldn't love them?
Anyway, this post is probably not what you were expecting, of all things to post about, goats would have been your last guess...Goats are cute, funny and Celebrities in their own right..
I recently read an article about a company called Chuckling Goat, they provide skin care products!
My reaction to this brand is YES, YES, Amazing!!
I would strongly recommend ordering from their product ranges, my skin after 4-5 days of use using their skin lotion has become smoother, looks brighter, pores are less apparent, my skin just looks so much healthier, I was so surprised on the outcome, I break out quite frequently so its made a significant difference to the overall health of my face.
So what about the product you ask, I ordered a Cleanser Soap and Lotion for break outs; This is directly grabbed from the website about this treatment specifically:-
Our award-winning skincare is designed to nourish your skin with natural ingredients including our own raw goats milk , live culture kefir, honey, oatmeal, herbs, roots, and aromatherapy essential oils. Our products are all free from any nasty dyes, perfumes, parabens, petrochemicals or phthalates.
For serious or persistent skin conditions, we recommend that you team our healing skincare with a 21-day course of our powerful live-culture kefir.
Use the cleanser daily instead of your usual soap, on face, hands and body. Follow with a twice-daily application of the lotion, anywhere it’s needed. Go for one soothing bath every three days or so. Unlike steroid creams, our lotion will not thin or harm the skin, and can be used as long as you like, on scalp, face and body.
To help you nurture your skin from the inside, we also recommend that you drink 1/3 of a pint daily of our live culture raw goats milk kefir.
Our lovely nostalgic farm packaging was designed by local artist Helen Elliott. All these skincare products are also available separately.
Break-Out Magic Lotion – for face, body & hands£6.95
Ever think Goat Hair Could be in your make up Brushes? Yes even your make up brushes!


FASH 16-Piece Professional Goat Hair Makeup Brush Set with Faux Leather Pouch is £9.99 on Amazon!
Here is what's included:
1)Powder Brush: Uniform blending of powder products onto the face.
2) Duo Fiber Powder Brush: Blush, highlight shades, loose pigments, contouring, buffing & blending colour.
3) Blush Brush: Apply Blush onto the face, primarily on the cheekbones.
4) Fan Brush: Dusting off excess eye make up, loose powder.
5)Foundation Brush: Used to apply any kind of foundation be it liquid, cream or solid.
6)Blending Brush: Blend multiple eye shadow shades.
7) Concealer Brush: Ideal to apply concealer under the eyes, helps cover blemishes & skin tone.
8) Medium Shading Brush: Brow highlighting or blend the crease.
9) Lip Brush: Contours & blends the lipstick perfectly on the lip.
10) Pencil Brush: Smudges color on the upper & lower lash line.
11) Angled Eyeliner Brush: Apply eyeliner deep into the lash line.
12)Sponge Brush: Smudges eyeshadow or blend harsh line of the crease.
13) Eyeliner Brush: Apply a even-thin line of eye liner on the upper or lower lashlines.
14) Eyeshadow Brush: Used to apply powder & cream shadows to eyelids.
15)Mascara Brush: Apply mascara to separate lashes.
16)Eyebrow & Lash Comb: Combs eyebrow hair & separate lash hair thus removing mascara clumps.
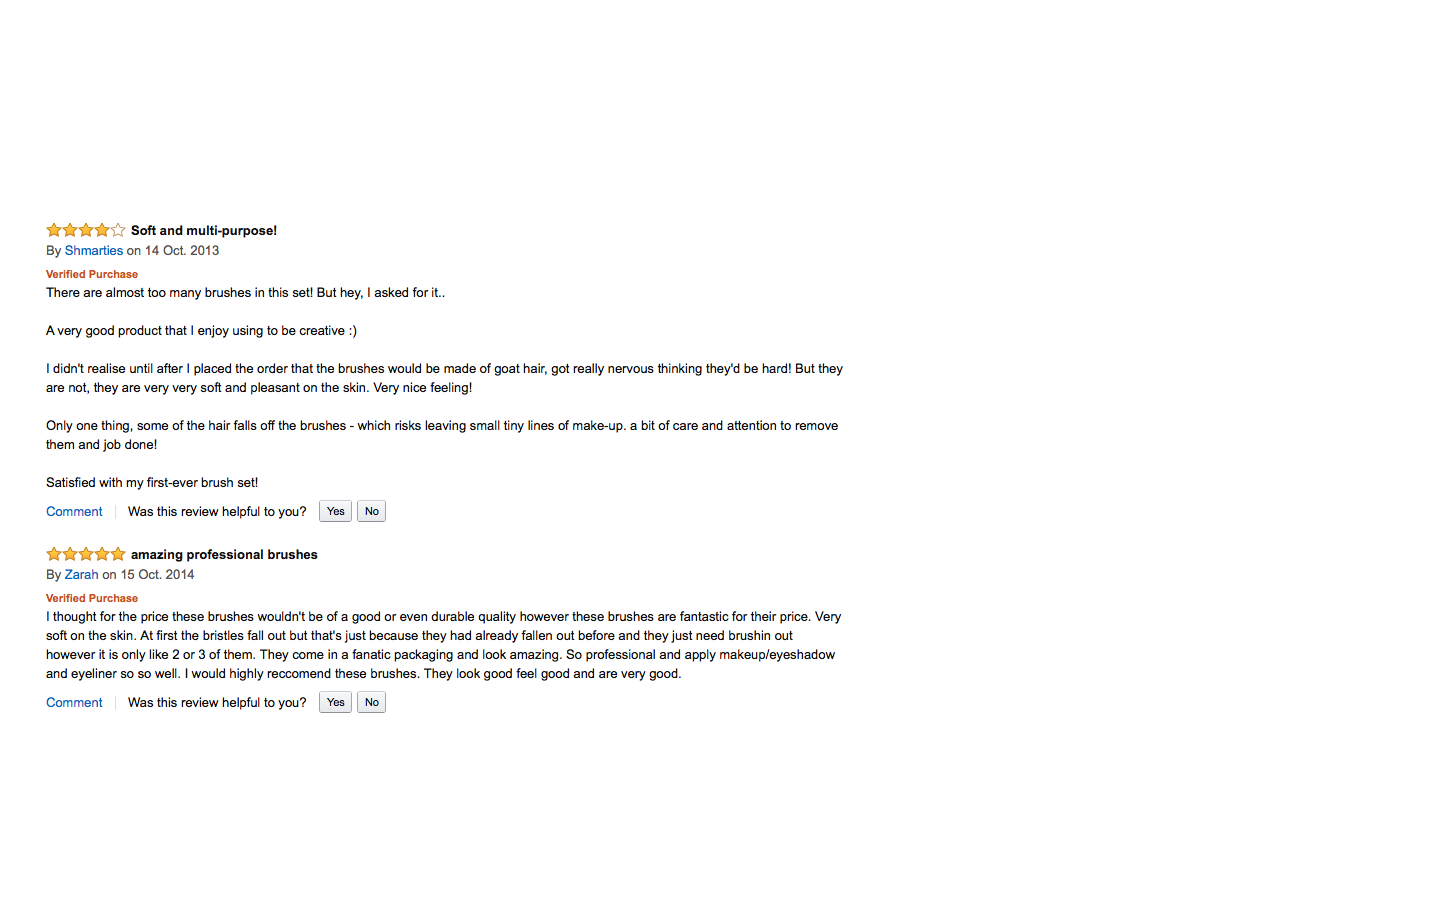
Some reviews of this product also proves that Goats Hair is such good quality!!Check it out! http://www.amazon.co.uk/FASH-16-Piece-Professional-Makeup-Leather/dp/B0058SPLUI


Anyway, this post is probably not what you were expecting, of all things to post about, goats would have been your last guess...Goats are cute, funny and Celebrities in their own right..
I recently read an article about a company called Chuckling Goat, they provide skin care products!
My reaction to this brand is YES, YES, Amazing!!
I would strongly recommend ordering from their product ranges, my skin after 4-5 days of use using their skin lotion has become smoother, looks brighter, pores are less apparent, my skin just looks so much healthier, I was so surprised on the outcome, I break out quite frequently so its made a significant difference to the overall health of my face.
So what about the product you ask, I ordered a Cleanser Soap and Lotion for break outs; This is directly grabbed from the website about this treatment specifically:-
Our award-winning skincare is designed to nourish your skin with natural ingredients including our own raw goats milk , live culture kefir, honey, oatmeal, herbs, roots, and aromatherapy essential oils. Our products are all free from any nasty dyes, perfumes, parabens, petrochemicals or phthalates.
For serious or persistent skin conditions, we recommend that you team our healing skincare with a 21-day course of our powerful live-culture kefir.
Use the cleanser daily instead of your usual soap, on face, hands and body. Follow with a twice-daily application of the lotion, anywhere it’s needed. Go for one soothing bath every three days or so. Unlike steroid creams, our lotion will not thin or harm the skin, and can be used as long as you like, on scalp, face and body.
To help you nurture your skin from the inside, we also recommend that you drink 1/3 of a pint daily of our live culture raw goats milk kefir.
Our lovely nostalgic farm packaging was designed by local artist Helen Elliott. All these skincare products are also available separately.
Break-Out Magic Lotion – for face, body & hands£6.95
Ever think Goat Hair Could be in your make up Brushes? Yes even your make up brushes!


FASH 16-Piece Professional Goat Hair Makeup Brush Set with Faux Leather Pouch is £9.99 on Amazon!
- Eco-Friendly and High Quality Make-up Brushes Designed for Professional Use
- This 16 Piece Brush Set comes along with a Beatufitul Faux Leather Roll-up Storage Pouch with Magnetic Clasps
- Professional Grade Quality
- Consists of all the Basic Brushes Required for Getting your Make-up done.
Here is what's included:
1)Powder Brush: Uniform blending of powder products onto the face.
2) Duo Fiber Powder Brush: Blush, highlight shades, loose pigments, contouring, buffing & blending colour.
3) Blush Brush: Apply Blush onto the face, primarily on the cheekbones.
4) Fan Brush: Dusting off excess eye make up, loose powder.
5)Foundation Brush: Used to apply any kind of foundation be it liquid, cream or solid.
6)Blending Brush: Blend multiple eye shadow shades.
7) Concealer Brush: Ideal to apply concealer under the eyes, helps cover blemishes & skin tone.
8) Medium Shading Brush: Brow highlighting or blend the crease.
9) Lip Brush: Contours & blends the lipstick perfectly on the lip.
10) Pencil Brush: Smudges color on the upper & lower lash line.
11) Angled Eyeliner Brush: Apply eyeliner deep into the lash line.
12)Sponge Brush: Smudges eyeshadow or blend harsh line of the crease.
13) Eyeliner Brush: Apply a even-thin line of eye liner on the upper or lower lashlines.
14) Eyeshadow Brush: Used to apply powder & cream shadows to eyelids.
15)Mascara Brush: Apply mascara to separate lashes.
16)Eyebrow & Lash Comb: Combs eyebrow hair & separate lash hair thus removing mascara clumps.
Some reviews of this product also proves that Goats Hair is such good quality!!Check it out! http://www.amazon.co.uk/FASH-16-Piece-Professional-Makeup-Leather/dp/B0058SPLUI

And they are best friends with Hugh grant and even Prince Harry!!


Check it out here!!
Now this is I guess basically a review on their products- You may be put of by the idea that part of their product is from goats trust me I kinda was suspicious. Well is it better than the basic products you can get from boots?
Your skin is a natural eco-system. Like all natural things, it needs feeding!

Break-Out Magic Cleanser – natural soap for face£3.95
Our Zap-It formula, perfect for spots, acne, severe eczema, dermatitis and stubborn rashes. Gentle enough to use as a daily facial cleanser. Works best used together with our Break-Out Skin Magic Lotion. Free from any nasty chemicals, dyes, perfumes, pthalates, parabens or petrochemicals. A base of goats milk, live culture kefir, coconut oil, sustainable palm oil and olive oil. Thyme & tea tree essential oils zap acne bacteria and heal eczema, psoriasis, rosacea and dermatitis.

This is our most powerfully healing lotion – we call it our “Zap-It cream! Perfect for eczema, spots, stubborn rashes that have resisted steroid creams, cracked hands and feet. Tthis formulation won us our first national award in the FreeFrom SkinCare Awards for Problem skin.They also do realy cute tester pack great for gifts or even to try yourself to it for £19.95!

Don't hesitate check them out on lots of social media and see for yourself- Goats Are Taking over!!
Hope You Liked it!

Please check me out on social media! Don't hesitate to confess you Goat Obsessed products!!


