Friday, 3 April 2015

Easter chocolate rice krispie cakes

Easter chocolate rice krispie cakes
Its that time of the year where chocolate is everywhere you look. That can only mean one thing...Yay its easter!

With all the chocolate surrounding us there is only one thing to do and that is to make some easter treats. This recipe definitely takes me on a trip down memory lane as I used to make this with my mum and also at school during easter.  

These cakes are really simple to make and come together within a matter of seconds. There is no exact measurement for this, I personally just eye ball how many rice krispie's go into the chocolate. This is a rough guideline I put together. 
Easter chocolate rice krispie cakes ingredients
You will need:
  •  200g chocolate
  • 100g rice krispies
  • Cupcakes cases
  • Mini eggs and mini marshmallows
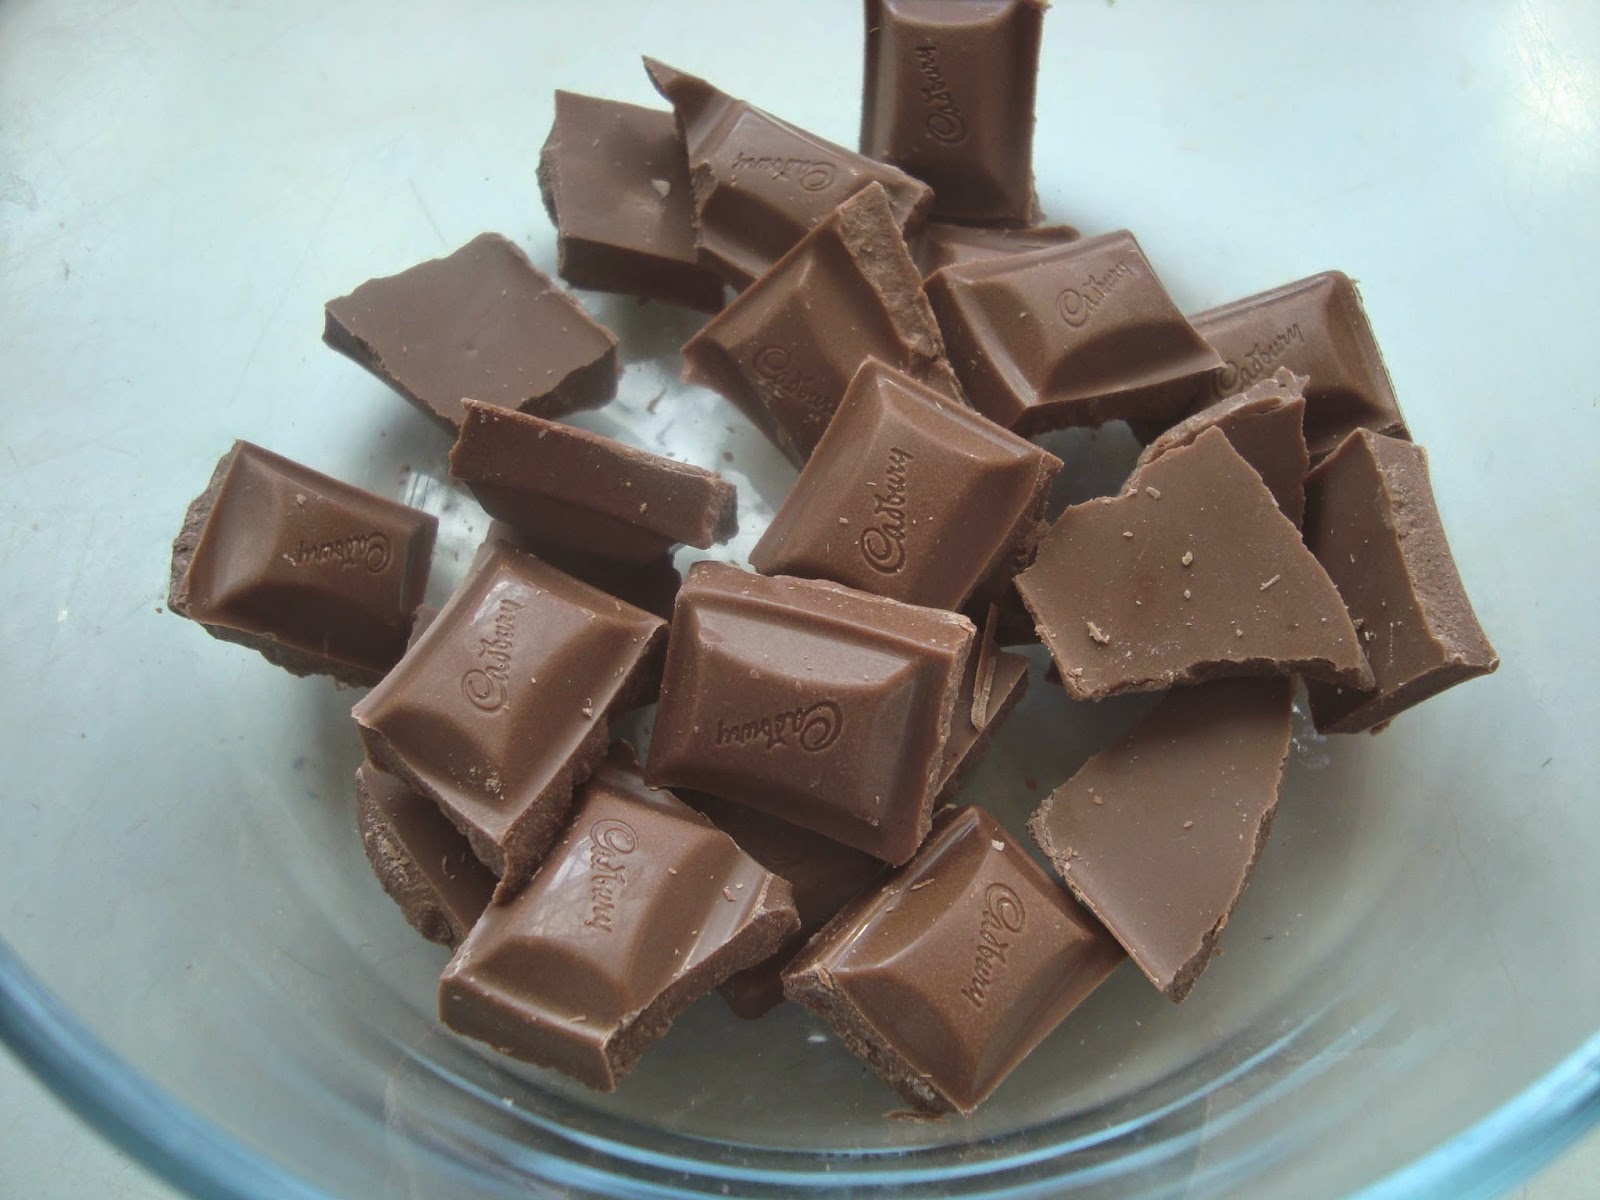
1) First things first is to melt the chocolate. I find it best to do this a heatproof bowl over a pan of simmering water. If not you can heat it in the microwave, making sure you do not burn it. Dairy Milk
Melted Chocolate
2) Whilst the chocolate is melting measure the rice krispie's and lay out the cupcake cases
Cupcake cases
3) Combine the melted chocolate with the rice krispie's and mix thoroughly until everything is coated and there is a even layer of chocolate on the rice krispie's. 
Melted chocolate and rice krispies Melted chocolate and rice krispies
4) Spoon into cupcakes cases and decorate with mini eggs and mini marshmallows.
Easter chocolate rice krispie cakes
5) Leave to cool down and set then its time to eat!

I hope you try this recipe out this easter :)
What are your favourite easter chocolate treats to make? 

Sunday, 25 January 2015

Make your own Katsu Curry!

Hey guys its Alex!
Japanese Inspired Katsu Curry!


So I have a big obsession over Japanese food, but really fail at cooking it (especially sushi) so when I was really board the other day i thought; wouldn't it be nice to find a simple katsu curry recipe 
Katsu Curry can't be that hard? Can it??
I eventually found the perfect recipe that seemed simple enough that I could follow and adapt in my own little quirky way- Here's the link for the non quirky recipe :) 
To start I bought some chicken goujons and Uncle Bens microwavable rice, this cut time and cost!! and after getting all the basics of the dish I needed to concentrate on the sauce….
This is how I got on :) 

What you will need….

Ingredients:
3 tbsp sunflower oil 
2 medium onions, roughly chopped 
25g chunk of fresh root ginger, peeled and finely chopped- this was debatable and i didn't add in the end
4 garlic cloves, sliced 
3 tbsp medium curry powder 
1⁄2 tsp ground star anise- or I have Chinese 5 spice which did the trick 
1⁄2 tsp ground turmeric 
4 tsp of plain flour 
500ml chicken stock (made with 1 chicken stock cube) 
4 tsp tomato purée 
2tsp freshly ground black pepper
ohh and then i added a tad soy sauce when cooking the onions.
-My first move was to fry the onions with some sunflower oil for about 5 mins- but make sure not to burn them like I did, just let them go golden - I may have aded soy sauce- you don't need it though.
-Then add in 4 garlic cloves with the onions, sliced into iddy, biddy, diddy chunks 
-With them slowly frying, add and mix in all the turmeric, curry powder, black pepper, the star anise/five spice and sprinkle in the flour. 
-Once mixed up in the pan add the chicken stock slowly, then add in the purée, I suggest at this point taste the mixture and see if it needs more flavouring. 
-Let the sauce mix on a light flame to simmer. If its turned thick and paste like, add more water and slowly stir mixture. This is when I popped the rice in the microwave and the chicken was nearly finished being cooked in the oven.
-Once everything looks cooked put the rice and chicken on the plate with the sauce, you need to pour the sauce into a blender or use a stick blender to grind the mixture down to a smooth and creamy appearance and then its ready to serve
Daaadaaaa easy peasy lemon squeezy!!!

Tuck in and enjoy, let me know how you get on!


Monday, 24 November 2014

Alex's Bad Idea To Bake Birthday Cake!

Hey Guys, Alex here, 
TW: im talking about cake... run away if you're on a diet!
So Its was my 22nd birthday :( i'm getting old! 
Usually I would leave the baking antics up to someone else but today i decided i wanted to make my own cake.. and without blowing my own trumpet, i'm actually not that bad at baking.


Here are a few examples of my previous baking extravaganzas;

Easter Surprise-birthday cake


Friends birthday:- The Killer Bunny form The Monty Python and The Holy Grail
So as you can tell, things don't usually go to plan, At least i try? Amirite?

This is what I plan my cake to look like:-


Cue Baking time with alex

What you will need;-


For the Cake mix-
  • Self Raising Flour 
  • Caster Sugar 
  • Eggs x4 
  • Hot choc powder 
  • Butter 
  • Baking Powder 
  • Mixing Bowl 
  • Whisk or Electric mixer 
  • Baking tins 
  • spatula 
  • baking parchment 
  • Spoons- table and teaspoon and normal spoon 
For the Icing and Decor-
  • Mixing Bowl 
  • Knife 
  • Mixer whisk 
  • Marshmallows 
  • white chocolate buttons 
  • hundred and thousands 
  • rainbow belts 
  • Blue food colouring

Bish, Bash, Bosh
my way of baking is really simple, haha bet you couldn't tell, i just like to bang it all in at once and hope for the best.

So first things first ( am a realist- im sorry i will let my self out)

- Set Your oven to 180 degrees please!!

- Then weigh all your 4 eggs together this can vary and is important. Mine weighed around 250 grams, this is now going to be the measurement for your Butter, Caster sugar and your flour.

- Bash all them in together, for chocolate cake, take out 2/3 tbs of flour and replace it with about 2/3 Tablespoons of Chocolate Powder.

-I then put all of the ingredients into the mixer along with the eggs

- Make sure there are no egg shell :P

- Also a teaspoon of baking powder is needed at this moment!

Next up in simple baking with alex you need too;

- Mix until the batter is an even colour and consistency,3-4 mins for everyone with an electric mixer, for all you man powered mixers just keep whisking away till your arm is going to drop off :) about 10mins

- Once the batter is not too thick and gloopy but smooth and silky, evenly distributed between 2 lined/ greased baking trays

Put the cake mixtures into the oven set the timer around 35/45 minutes, mine took 1hour and 20mins! dunno where i went wrong on that one... :s its best to test by sticking a probe/kebab sick into the cake if it comes out clean its probably done, another way to test is to press on the cake slightly if it bounces back its done!

Once baked leave the cakes in the tins to cool for 5 mins! then gently remove t leave on a wire rack to cool for a further 10-20 mins.

Ice Ice icing it!

I chose to use Buttercream Icing. This link will show you how to make the perfect buttercream..
after following these instructions i popped a dap of blue food colouring into the icing for the 'sky effect'


Final Touches

The next bits the best, smother the cake in the blue icing- smooth with a knife- add a dash of water onto the knife creates a glossy effect. Leave this to dry/set, for a quick setting times i recommend you  put the iced cake in the freezer, not only will the cake set fast, but when slightly frozen the cake is much easier to decorate.


While this is going on I separated my marshmallows white and pink. The pink well they got eaten! The White need placing in a microwavable bowl and microwave for 40 seconds on 600wt. Mix with a spoon this makes the marshmallows loose their shape and become sticky and gooey. Then dust a part of table/chopping board with icing sugar and cover your hands in it take clumps of the marshmallow and form cloud like shapes and place on the cake for desired shape/style.

Dust the cake in hundreds and thousands do this at your own risk they go everywhere!!

Now the Rainbow belts need forming into semi circles- place in the freezer to set- I did a few for experiment sake this method worked the best
Leave for 5-10 mins


Once they have set slightly take one and form a rainbow on the marshmallow clouds I used some icing sugar and water and wedged it into the clouds held it for a few seconds for it to set in place and well….


Daadaaa…

Add candles for finished look…


I hope this has tickled your tastebuds for cake! 


Please find me on social media and look at all my other crazy Ideas!
BLOG TEMPLATE BY DESIGNER BLOGS